Microsoft continues to invest heavily within Office 365 services, not just from a feature and functionality perspective, but more from the internals, such as logging and security. This means that you can easily know what tasks your end users are performing within any part of the service. You may wonder why this is important for you as an organization. Well, in reality, the biggest threat to any company is from within, namely employees. Having the ability to monitor all traffic within Office 365 means that you can not only see what is happening at any point in time but also be alerted about specific activities. The Audit log search featured within the Security & Compliance Center is the go-to tool for reviewing usage by activity and component.
Learn how Office Protect can help you save time while keeping your Audits Logs in check
Audit Logs in Office 365: Understanding users’ activity reports
Categories and activities
The Audit log captures activities from multiple sources. The general sets of logged activities are grouped into the following categories:
- File and page
- Folder
- Sharing and access requests
- Synchronization
- Site administration
- Exchange mailbox
- Sway
- User administration
- Azure AD group administration
- Application administration
- Role administration
- Directory administration
- eDiscovery
- Power BI
- Microsoft Teams
- Yammer
- Exchange admin
Other activities may be available based on services that are enabled within your tenant such as Dynamics 365. Each category also contains multiple types of activities that can be selected. By looking at the Folder activity category you can see the subset of activities that can be viewed.
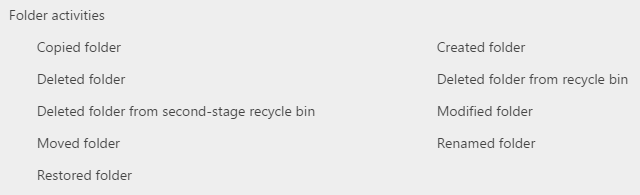
Expanding on these core activities, the following list outlines what each activity actually captures:
- Copied folder – User copies a folder from one site to another location in SharePoint or OneDrive for Business.
- Create a folder – User creates a folder on a site.
- Delete a folder – User deletes a folder from a site.
- Delete the folder from Recycle bin – User deletes a folder from the recycle bin on a site.
- Delete the folder from second-stage Recycle bin – User deletes a folder from the second-stage recycle bin on a site.
- Modified folder – User modifies a folder on a site. This includes changing the folder metadata, such as changing tags and properties.
- Moved folder – User moves a folder to a different location on a site.
- Renamed folder – User renames a folder on a site.
- Restored folder – User restores a deleted folder from the recycle bin on a site.
To view the breakdown of all categories within the Audit Log, Click here.
Permissions and log capture
To use the Audit Log search, you either need to be a Global administrator or be added to the Security & Compliance center roles groups, Compliance Manager or Organization management. If you need to allow a non-administrative user access to this, you must assign the “View-Only Audit Logs” or the “Audit Logs role” within the Security & compliance center.
Office 365 does not allow querying of all services and components immediately. Due to each service storing log data differently and within different storage mechanisms, the Audit log is populated at different times by refreshed data.
SharePoint Online, OneDrive for Business, Exchange Online and Azure Activity Directory (user login events) are imported every 30 minutes. Azure Activity Directory (admin events), Sway, Power BI. Yammer, Security & Compliance Center4 and Microsoft Teams are imported every 24 hours. It is important to understand these timings when, for example, you are using the Audit log to investigate user traffic, specifically when it is related to eDiscovery and Legal Hold.
Executing audit log searches
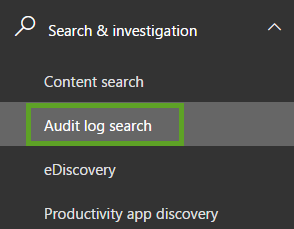
The Audit log search is available within the Security & Compliance Center. You can find it by clicking the “Search & Investigation” link and choosing “Audit log search”.
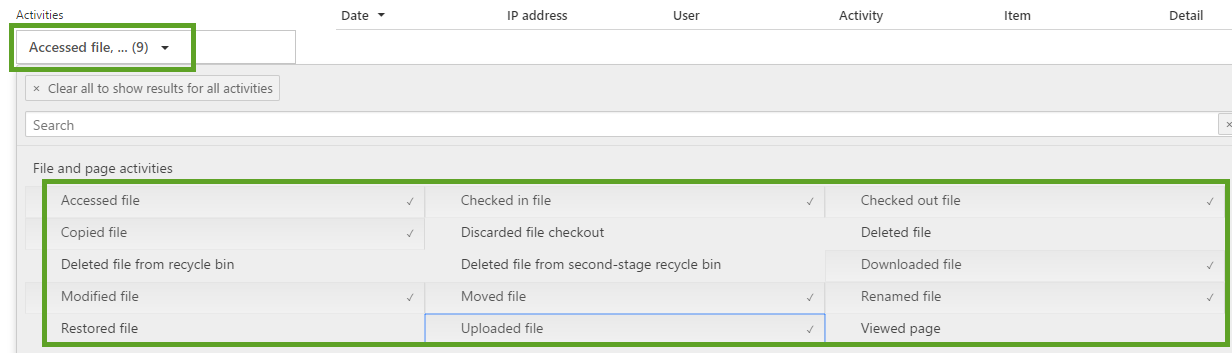
Once the search page is loaded, you can specify the Activities, Start and End Date, Users and any free-text values that can be used as a filter value. If you are unsure as to what activities need to be selected, you can search within the picker, by simply typing what you need.

Typing a value will filter all activities to those that contain the free-text value that you have entered. It is helpful that the categories are still displayed so you can be sure that the activity you select is the right category, which internally is translated to an Office 365 feature or service. If you know the activities, you can simply select them in order to populate the “Show results for all activities” with the selected activities. It will also display a count for the total number of activities you have added. There is a maximum limit of selectable activities, which is set to 45.
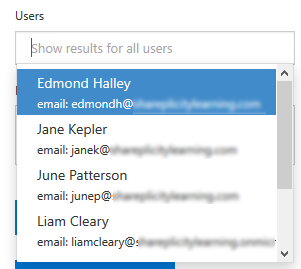
Once you have selected the activities, you can add a date and time range to limit the results. The Audit log only allows searching within the last 90 days of activity. Filtering the results to a specific user is done by clicking into the “Users” field, which will then auto-populate with the list of users within the Office 365 tenant.
Once you have selected the user accounts you wish to filter the results to, you can specific free-text values that will be used to search across all the field for File, Folder or Site.
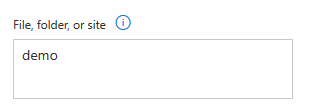
NOTE: When using this type of filtering, you need to replace any of these characters “\ / – _” with spaces.
Now that you have created the search criteria, you can run the search to view the Audit log results. This can take a few seconds to load, but once loaded it, is very fast to filter export.
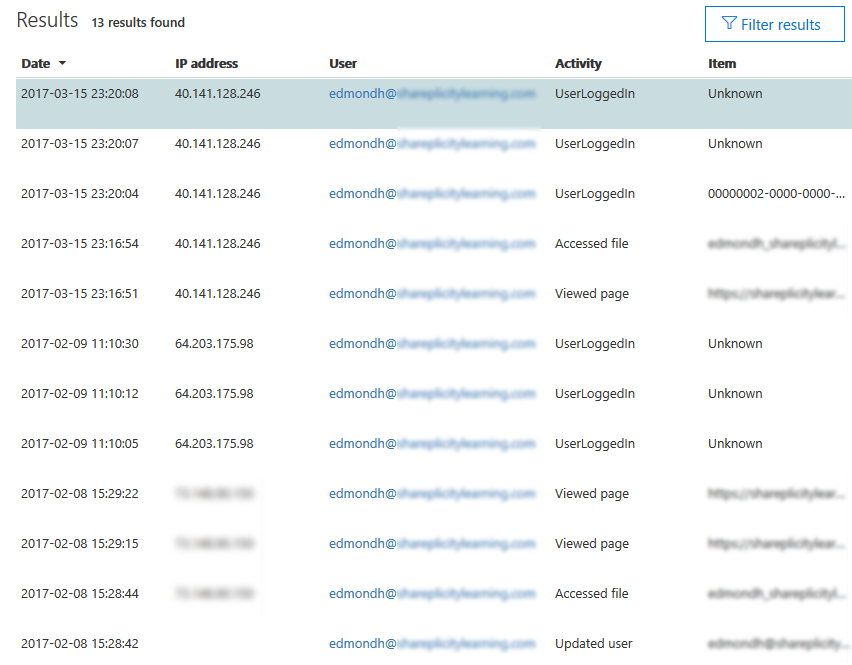
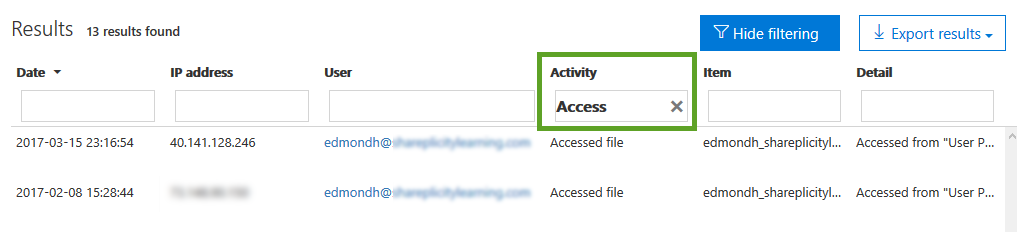
To filter the results, click the “Filter results” button which will add a new row above the results, allowing you to free-text the filter. Typing values in the filter boxes will refine the result set to what you typed.
Set up alerts for audit log searches
Once you have data within the Audit log search, continually running the searches can be time-consuming, which you will be repeating constantly. To prevent this, you can click the “New Alert policy” button and create an email alert for the search criteria you created.
Clicking the button will present the new alert policy screen from the right-hand side, which will be pre-populated with the activities you chose within the search. If you have defined any users they will also be populated within the “Users” box.

All that needs to be defined are the Name, Description, and who to send the alert to.
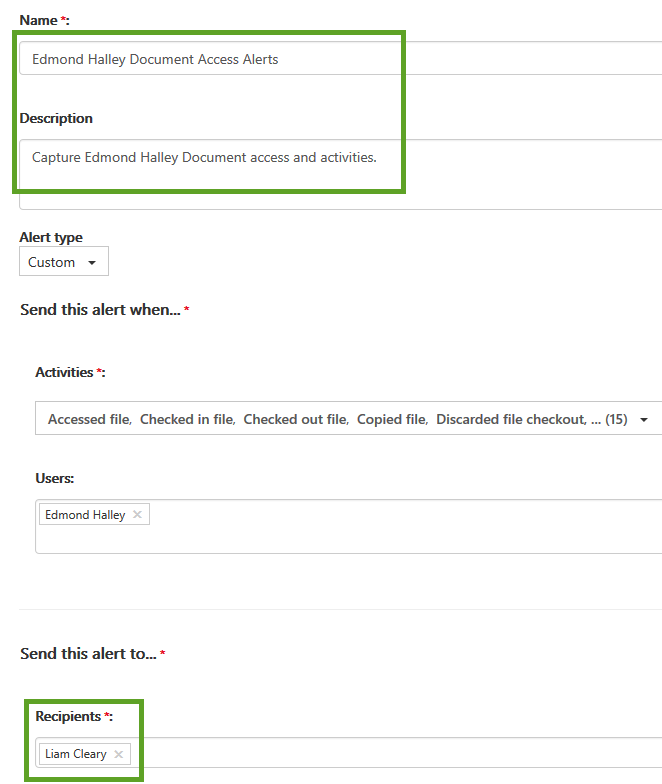
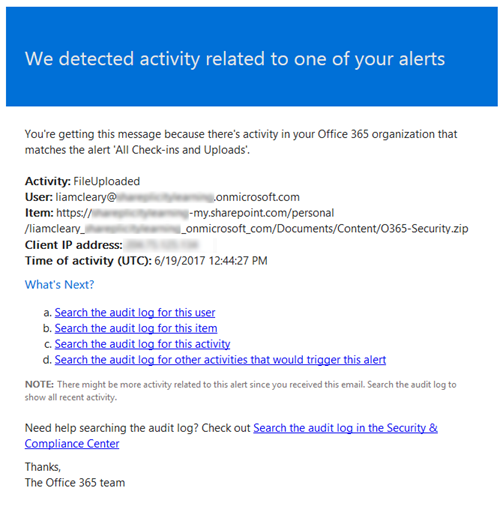
Once you have saved the alert, you will need to allow Office 365 to capture the events and send the notifications to you. When an event that matches the new alert policy is captured, an email is sent that contains specific details of that specific event. The notification message contains information about the Activity Type, User, Item, Client IP Address, Time of Activity as well as links that take you into the Audit Log search for searching the audit log by the specific user, item, activity and other activities that would trigger the alert.
Exporting audit log entries
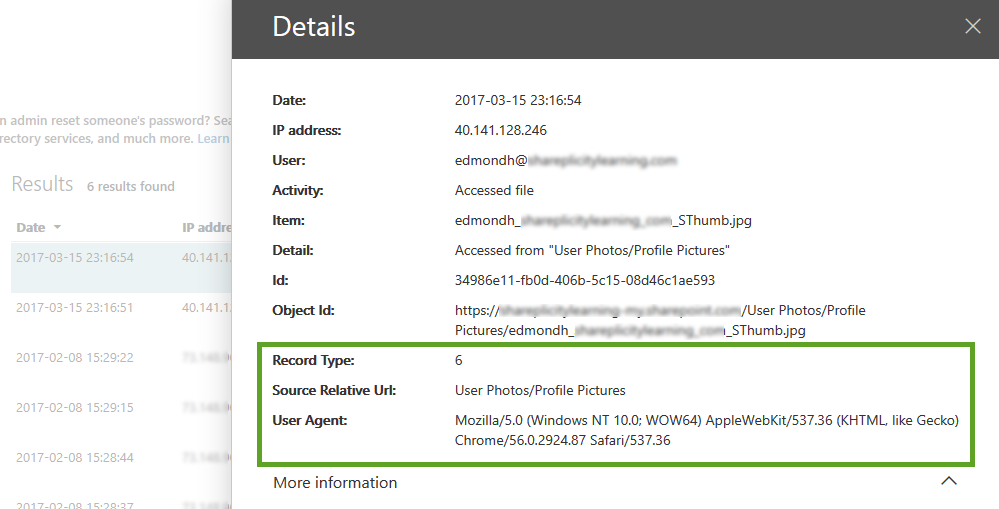
The Audit log captures more data than what is displayed within the user interface. To view more, simply select one of the rows by pressing onto the row. A panel with more details will then be displayed that slides over from the right. The initial screen only shows the same values, with a link that will expand to reveal more information.
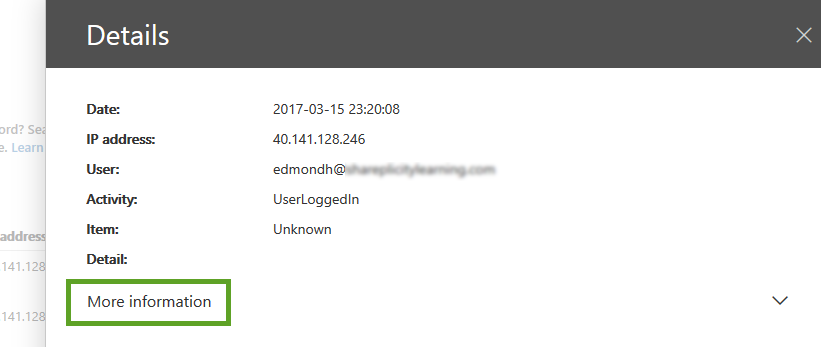
Clicking on “More information” will expand to reveal extra fields with associated data. Some of the fields contain further details, as they store the data as internal JSON objects. The following fields are displayed:
| Actor
ActorContextId ActorIpAddress ApplicationId AzureActiveDirectoryEventType ClientIP CreationTime ExtendedProperties Id InterSystemsId IntraSystemId
|
ObjectId
Operation OrganizationId RecordType ResultStatus Target TargetContextId UserId UserKey UserType Version Workload |
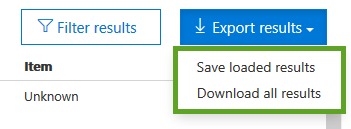
Using the core user interface does not give you the flexibility you need when inspecting the results. To help you Microsoft offers you the ability to “Export” either the currently loaded results, or all results (including those that you can’t see yet and have not been loaded).
Exporting the results for an audit log search, the raw data from the Office 365 unified audit log is copied to a comma-separated value (CSV) file. This is downloaded to your local computer.
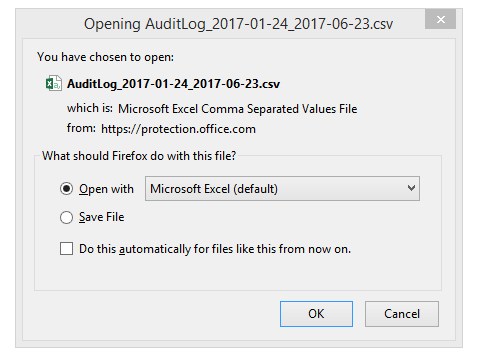
Opening the CSV file displays all the rows from the results, however, it formats it in a different way. The first three columns display the Date of the activity, User ID and Operation. An additional column from the audit log entry, named “AuditData”, is also added to the CSV. This column contains a multi-value property for multiple properties from the audit log record. Each of the property:value pairs in this multi-value property is separated by a comma.
When trying to filter within Excel or another spreadsheet solution, you will need to parse the JSON / property:value data for it to be useful. You can use Power Query in Excel to split this column into multiple columns so that each property will have its own column. This will let you sort and filter on one or more of these properties. To learn how to do this, see the “Split a column by delimiter” section in Split a column of text.
However, some of the results, when displayed within the core user interface, display the JSON data to make it easier to review without the need to export. An example of this would be using the activity report “Accessed file”. This activity displays more of the JSON object to you in the core console without the need to export.
User behavior and protection
The real win with the Audit Log search capabilities is around understanding user habits, patterns and potential security incidents. The more you understand about how your end users use Office 365, potential security risks and incidents, the better you can protect and secure your environments. Data collected in the audit logs can paint a useful picture of what actions have (or haven’t) occurred within Office 365, and can be stored for later review at any time. So, whether you are trying to determine permission changes, checking document reviews or which content has been deleted or restored, the Office 365 Audit Log search can help you.