Customer service is very important in every organization because there is always a need to attend to inquiries and resolve issues relating to customers.
In Dynamics 365, we have a case entity, whereby a new case is created for every customer with a unique ID assigned to each case and all actions taken on the case, such as phone calls and emails, are tracked and saved.
Click here to download our free ebook on Dynamics 365 and get answers to your questions!
You can assign cases to users or teams or even queues in Dynamics 365. This process can be automated for improved teamwork, flexibility, and productivity.
With Dynamics 365, routing rules can be easily configured to allow conditional and complex routing without the need for additional coding, such as custom workflows or plug-ins.
What to Use Routing Rules for?
Routing rules in Microsoft Dynamics 365 can be used to automatically route cases to the right people at the right time without any manual intervention. A routing rule acts as a guide to Dynamics 365, directing it about what it should do with a case.
You can also use routing rules to route cases that are escalated to specific queues directly from the cases records.
Learn more on how to manage your business with Dynamics 365
How to Create a Routing Rule?
- Ensure that you have you have the customer service manager, system administrator, or system customizer security role or equivalent permissions.
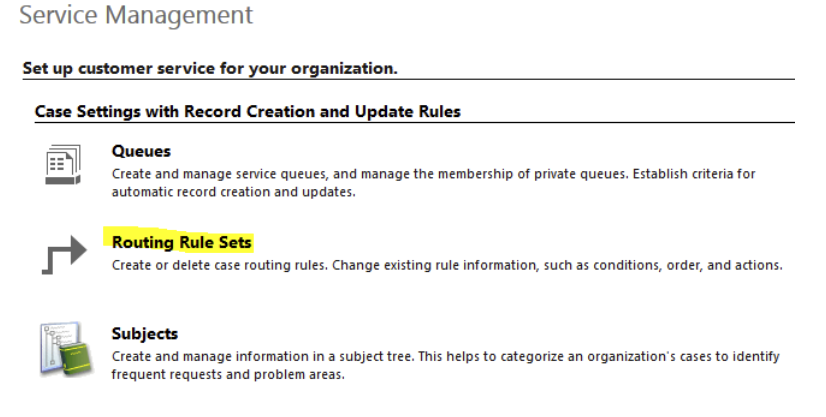
- Navigate to Settings.
- Under Business, select Service Management then Routing Rule Set.
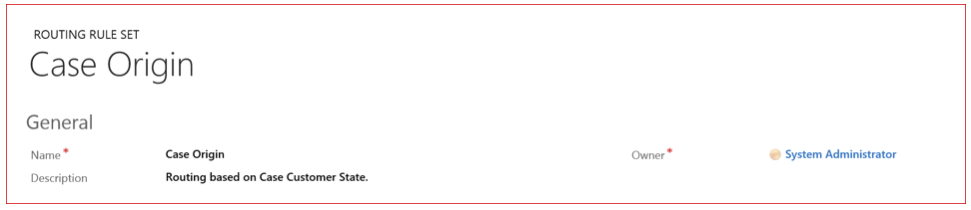
- Select New to bring up the routing rule form.
- Under the “General” section, enter the name and description for the routing rule set and click on Save.
- Scroll down to the Rule Item tab and click + on the top right corner to Add a Rule Item. One routing rule set can have multiple rule items.
- Under Rule Criteria, specify an appropriate condition for which the case will be routed just like when using advanced find criteria.

- Specify the queue for the case to be routed or the user/team under Then conditions if earlier conditions stated above are met.

- Click Save and Close.
- 10.In the routing rule set record, click Activate so that the rule set is applied to the cases matching the conditions in the rule.
How to Apply a Routing Rule?
After creating and activating a routing rule, the active routing rule set automatically applies to all cases that are automatically created.
To manually apply the rule to existing or manually-created cases, in the list of cases, select the cases that you want to route using this rule and, on the command bar, click Apply Routing Rule.
Click here to sign up to our partner program and start reselling Dynamics 365 in less than 10 minutes
Things to Note:
- When you create a routing rule, a workflow is created automatically in the background. Therefore, to create a routing rule, you must have the privileges necessary to run a workflow.
- For cases to be routed in Dynamics 365, there must be an activated routing rule.
- Manually created cases will require manual application of the routing rule by selecting the “Apply Routing Rule” from the command bar to route based on the applicable routing rules.
- Though you can create multiple routing rule sets, only one set can be active at any point in time. If you try to activate another rule when one rule is already active, the currently active rule will be deactivated.
- You can activate or deactivate only the rules that you own.
- You can’t edit an active routing rule set. Therefore, if you’re importing a solution that includes an active routing rule set into an organization where the rule already exists with the same ID, the solution import will fail.
- Any user or team that the case routing rule has been configured with must have enough privilege to own a case.
- If we create cases by importing bulk records, it will be easier to decide whether to apply routing rules on cases. In the “Add Route Case” column in the spreadsheet, set the value as “No” for records that we don’t apply the routing rule to and set the value as “Yes” to apply routing rule on records.
- Users should have access to routing rule sets to be able to create a new routing rule set. By default, all security roles must have been provided at the organization level; a user who has read access to a routing rule set can apply routing activated rules to the cases.
Automating case routing has really helped in making customer service work easier as well as speeding up response time. It simply takes your automatically created cases and make use of Routing Rule Sets, which matches the specified conditions and route the records to your desired team or user to work on the case. Alternatively, you can manually select cases and assigned them to queues.
Although this article is based on case routing, routing rules can also be used in other record entities in Dynamics 365. A notable example is lead routing where routing rules are defined to ensure leads are routed to appropriate sales team or individual.
